A while ago I shared my kitchen redo but since then we have made a few changes. When we first moved into this house I knew the kitchen needed a facelift. But we are renting and because of that we only wanted to invest a little bit of money. With a little bit of elbow grease we turned this kitchen into something we could be proud of.
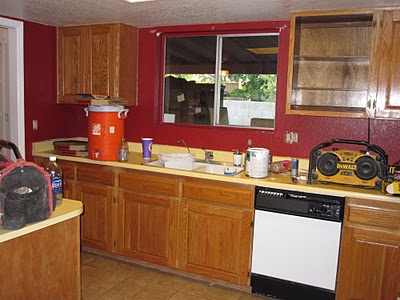
The kitchen started out with red walls and yellow countertops. The cabinets were in ok shape but I wanted to lighten it up a bit. Paint makes all the difference in the world.

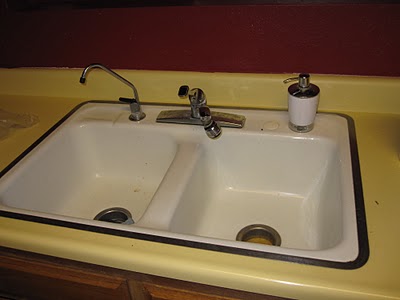
Here are a few more of the before pictures.
We had our own appliances that we moved into the space. We got a great deal from The Sears Outlet. I love them so much! We painted the cabinets white and if you need some help with a painting project here, here, here, here, and here, are a few of our tips. We thought about getting butcher block counter tops from Ikea but we ended up getting so lucky and got some countertop from a local company that we called in a favor for. If you want cheap countertops, have you seen that you can PAINT YOUR EXISTING ONES. If any of you have used it I would love to hear what you think about!
We did a few more things, Here is the break down of the cost…
This project cost break down:
Paint and supplies: $100
Subway tile and supplies for tile: $150 (we got it our local Restore Warehouse)
Counter tops: FREE!!!! can you believe it… they were a gift, from a company that my father in law deals with for business!
Sink: $100
Labor: FREE
Curtains $30
Chalkboard Paint $10 for the little wall on the left
Total: $380
I love when a project can be be done all by ourselves!
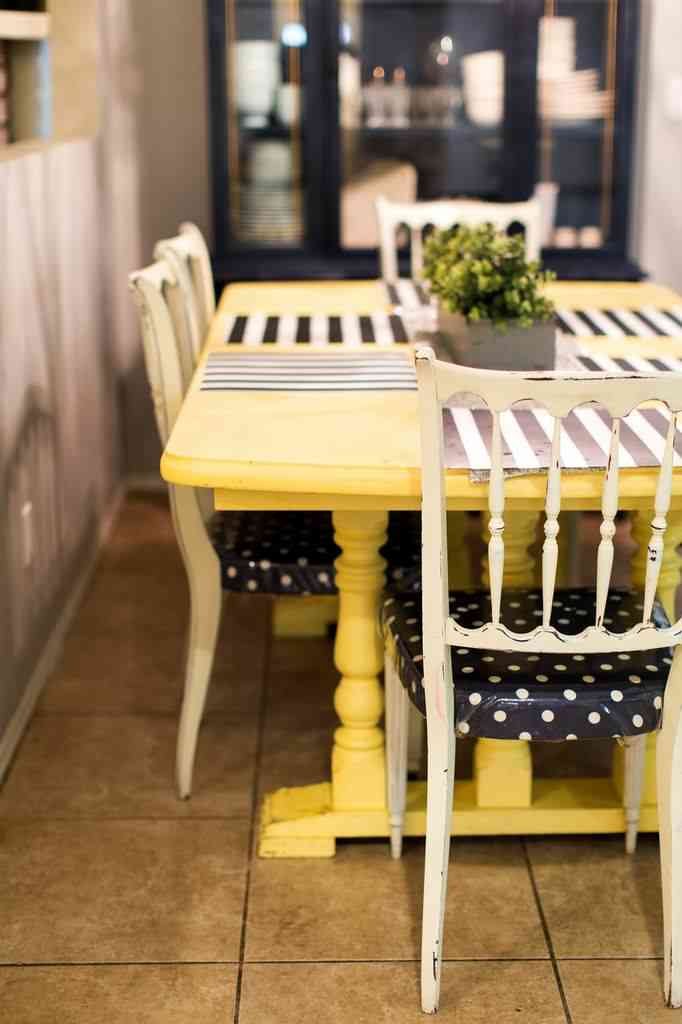
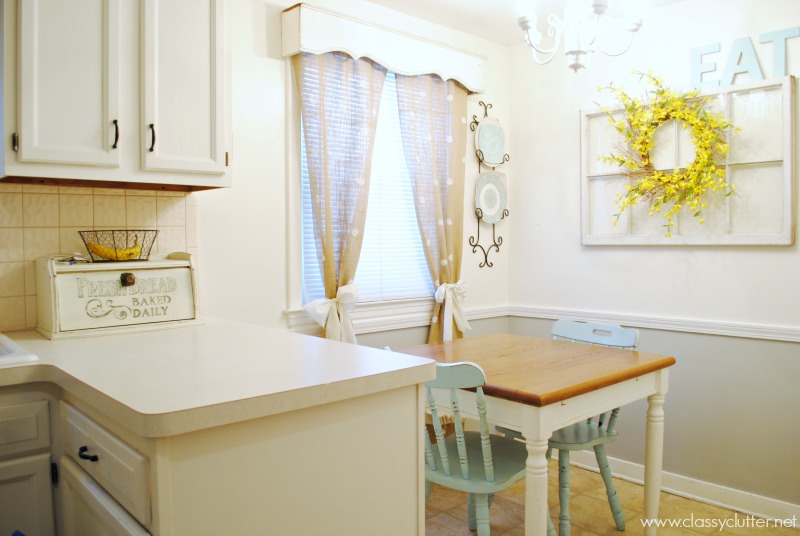
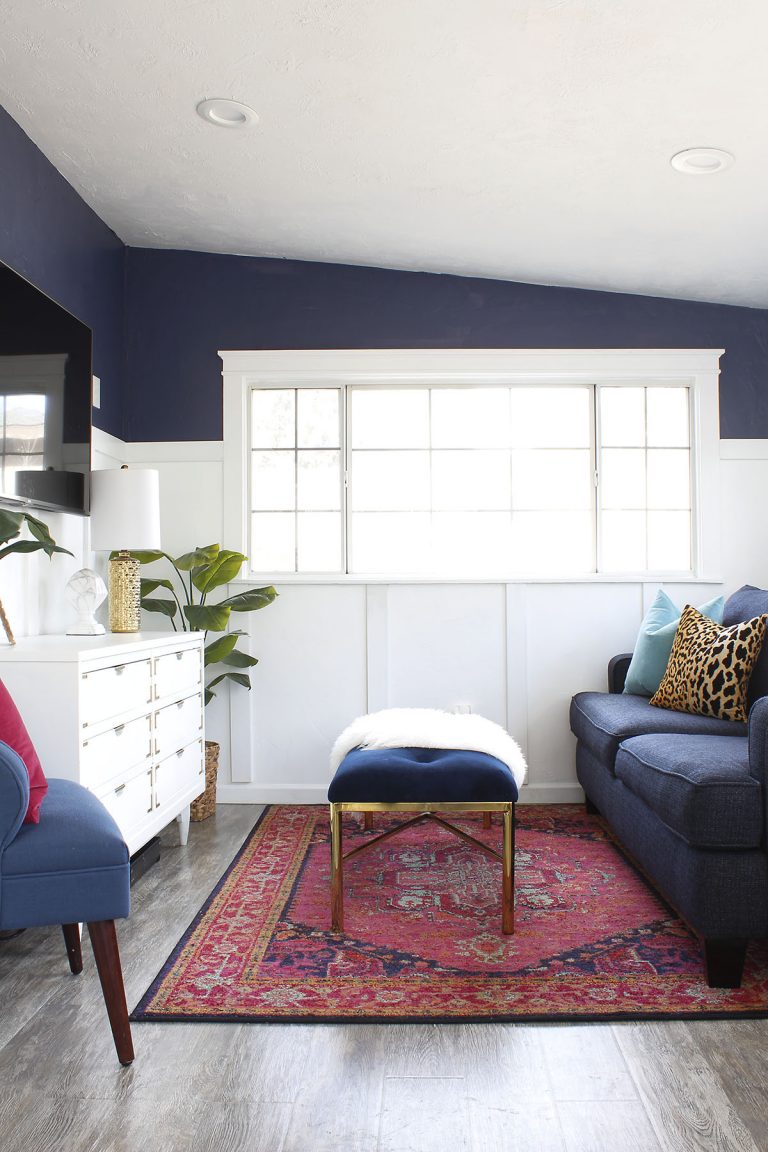
When you stand back you can see a few more details that I also added to the kitchen space. You can see my Dining room Space for the Kitchen and the Gold Dotted wall to.
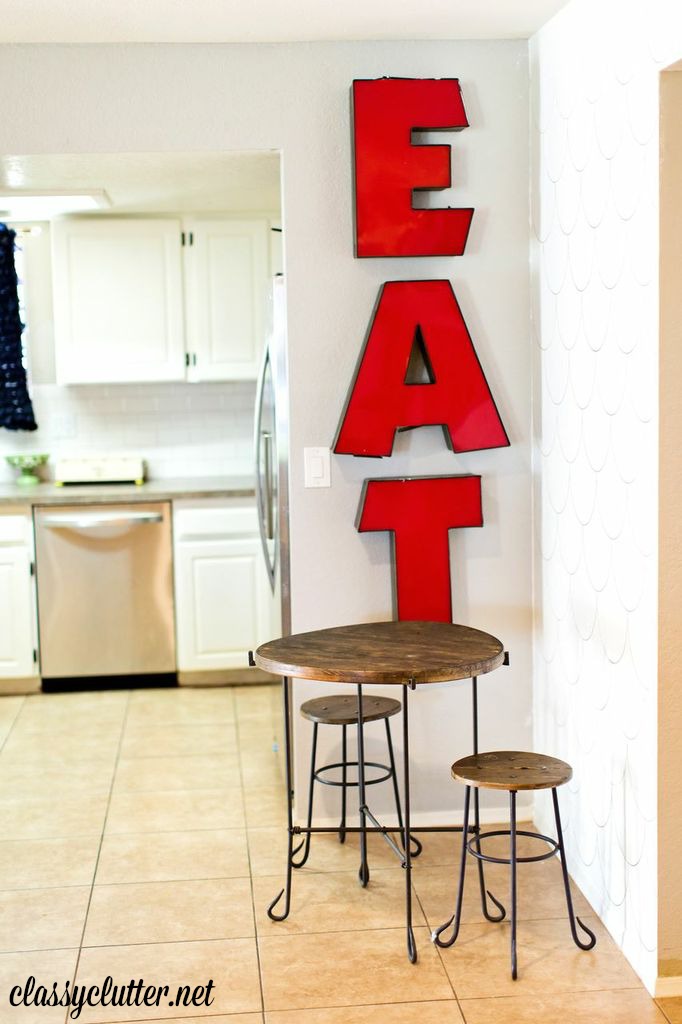
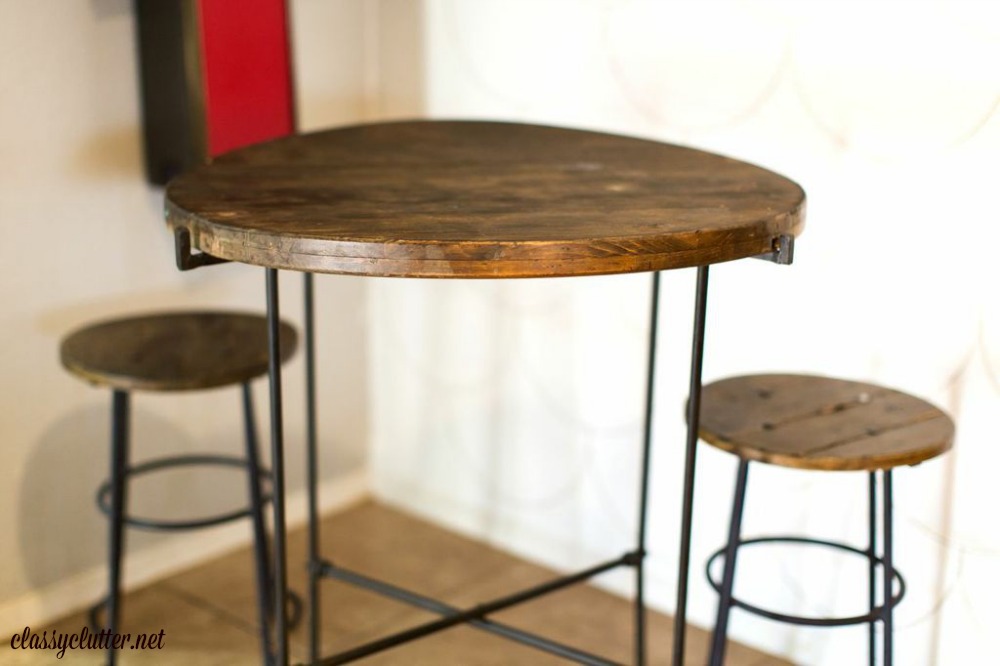
I Could Honestly DIE over my EAT sign. It it perfection in every way for me! I got the sign from a few local girls from Junk in the Trunk they have a instagram account that they sell stuff on from time to time and they also have a market that they host every few months. They have some really cool stuff. I got the little table and chair from a Az antique store called the Antique Mall on Country Club and Warner I believe. I was able to score the set for $40 I was sooooo excited. It fits perfectly in the little corner.

The last thing I added in my kitchen was this Chalkboard Wall. I had a small space that I felt was a bit of wasted space and so I turned it into a chalkboard wall. I simple just painted on the paint and it was done very easy. But I will say, I hate that this is textured it makes it very hard to clean. I wish I would have had the kind people at Home Depot cut down a piece of MDF that I could have painted and just nailed to the wall. But for now it works great and I do love it.
I could not be happier with my kitchen overhaul. What do you guys think?


WOW what a change for such a small chunk of cash! I especially love your chalkboard wall! I will have a little wall like that in my new house, and now I am seriously considering painting it with chalkboard paint. Great job!
I love DIY projects, which can be accomplished in very low budget. Thanks for sharing your update.
Chalkboard Wall is also a good concept for productivity.
IT looks incredible! I cannot believe that you were able to do this for under$400!
What about the appliances? Looks great and what a nice feeling!!
That’s an incredible transformation!
I really love what you’ve done!!
I have used the Rust-oleum countertop transformations and it is AMAZING! It is very easy to do and looks fabulous.
love it all
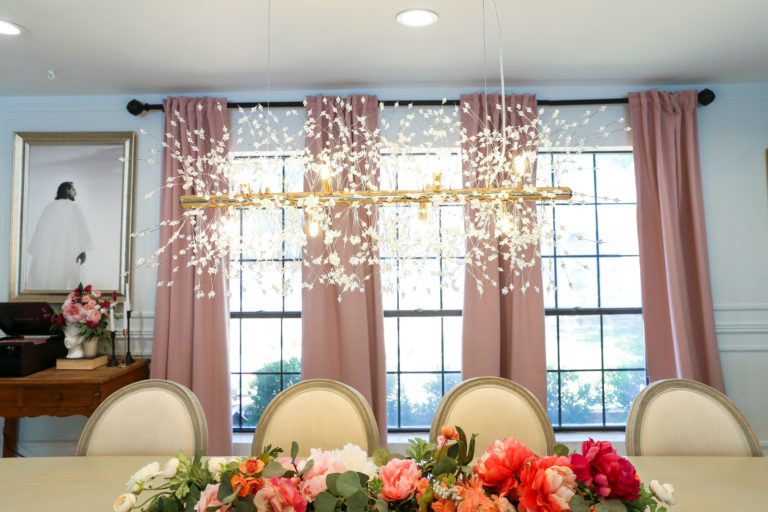
I LOVE the light over your table, where’s it from?
Hi Lauren!
I found it at an antique market! Thanks so much!!! xoxo
How did you prep your cabinets before painting? What kind of paint did you use?
I love this! Can you tell me the brand/shade of grey your used on the walls in the dining room? thanks!
It is perfect, I cant believe what the colour can do 🙂 Really nice inspiration!